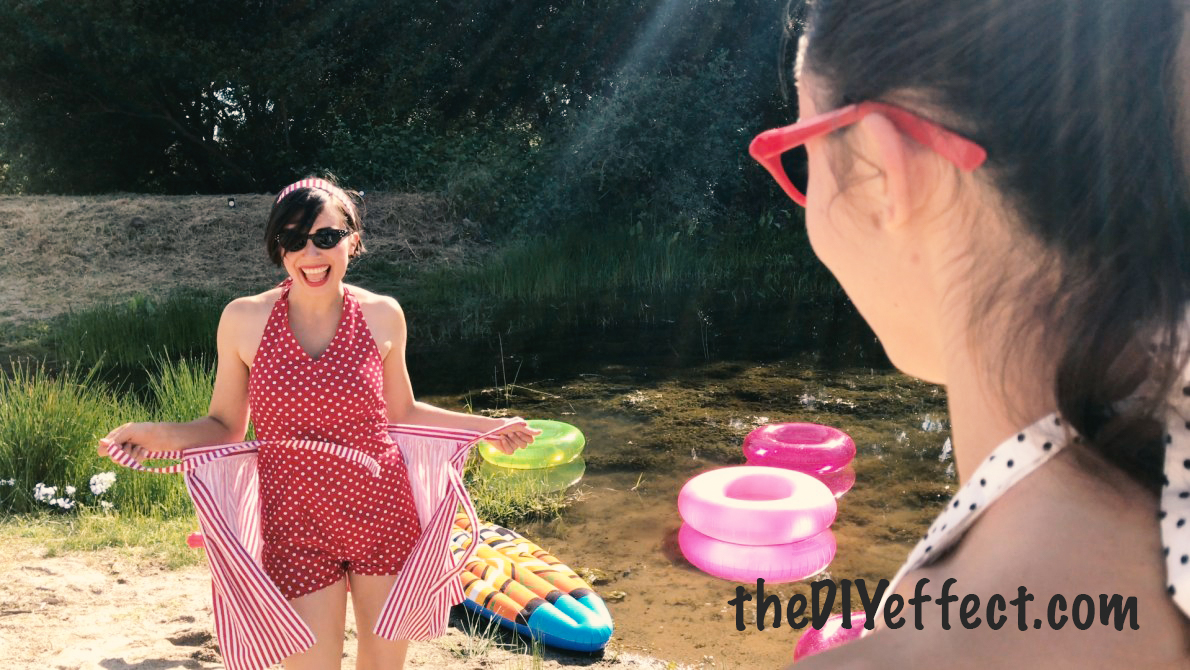
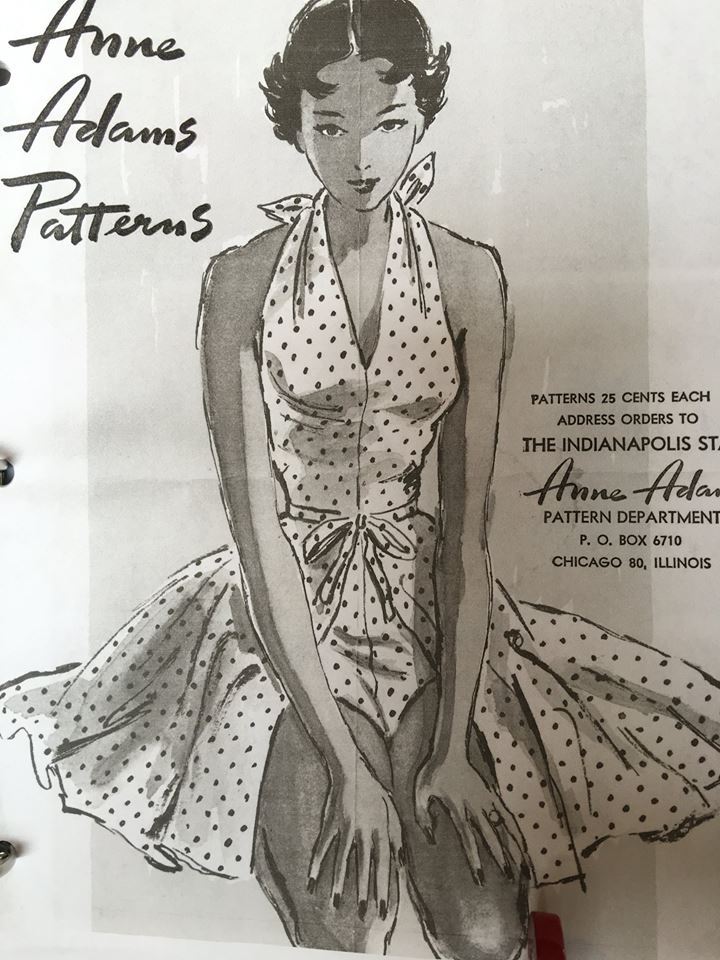
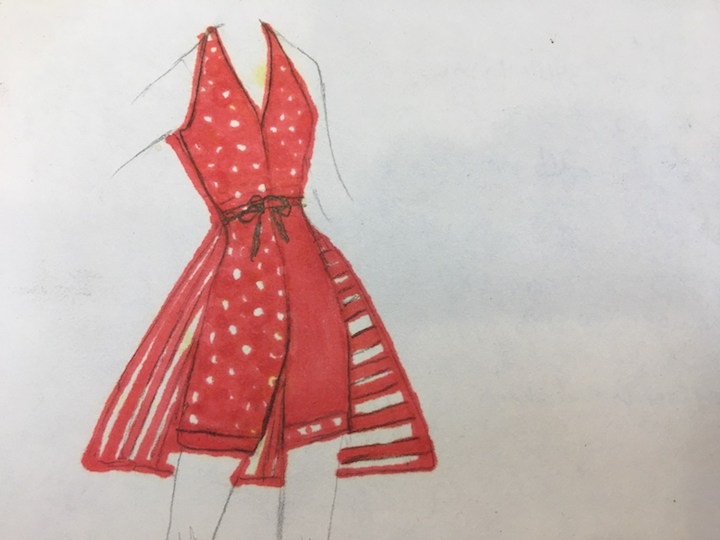
to make 1950's playsuit
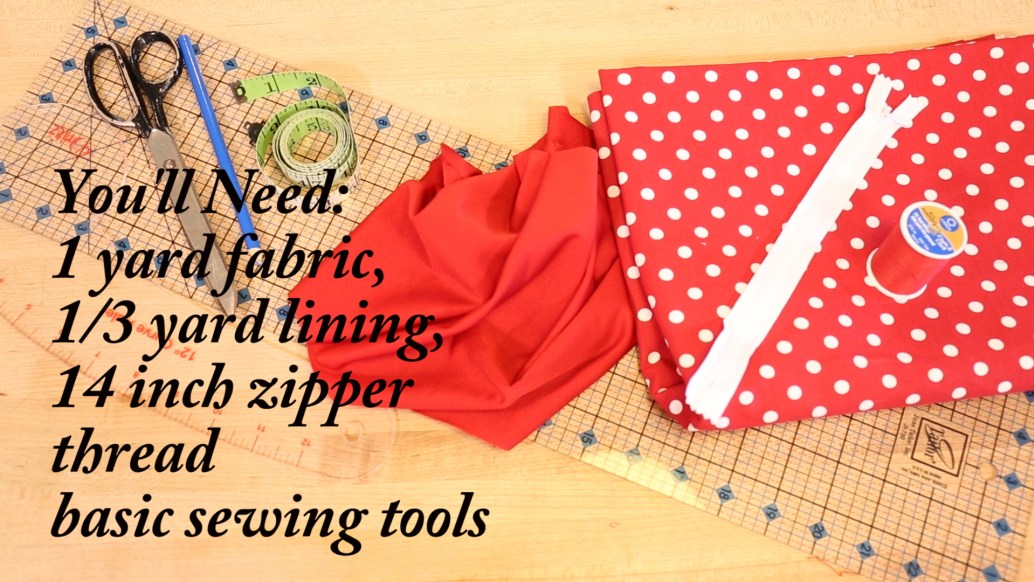
you'll need
Making the Romper
Measure around waist, waist length, bust, and hips. Compare body measurements with the pattern. Check twice, cut once. Add a 5/8th seam allowance to all the pieces.
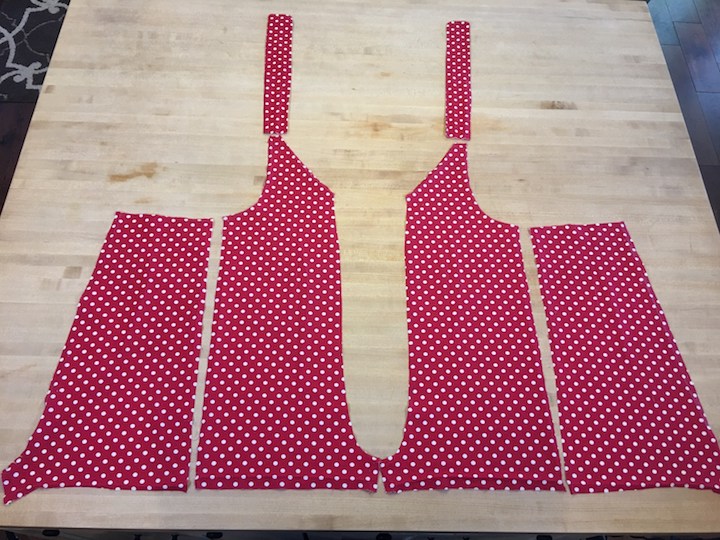
Some intermediate sewing skills would be very helpful here since we will be installing a zipper, lining, facing, straps, darts and making our own pattern. There are 8 pieces total: 2 fronts 2 backs 2 strap fronts 2 strap backs 2 interfacings for back not shown Make 1950s Playsuit
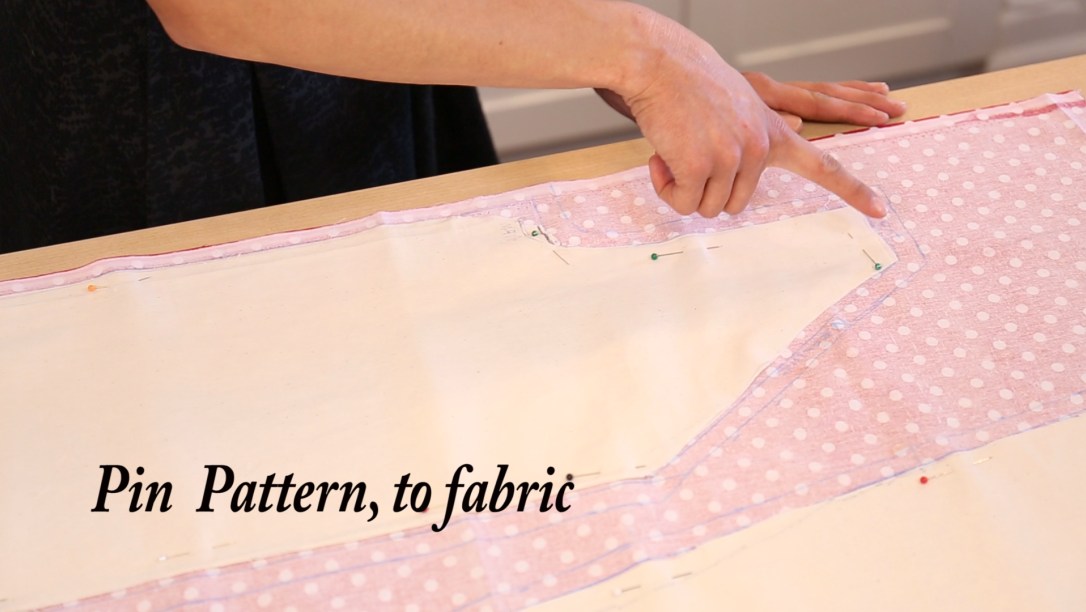
Layout fabric, right sides together and pin pattern to fabric.
Label each piece in the seam. Front seam, back seam, right side seam, left side seam, zipper, neckline, straps. This will make it so much easier when putting together.
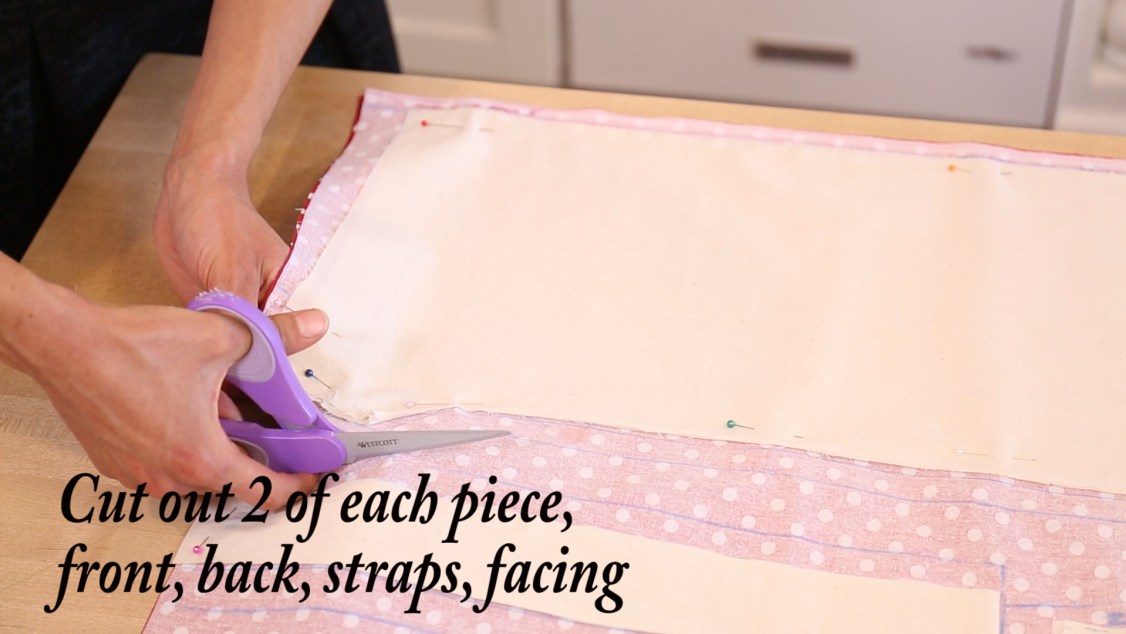
Cut out – Once satisfied with measurements and markings, cut out 2 of each piece (front, back, facing & straps). For the straps that go around the neck, we cut out 2 pieces, each 6 inches wide by 16 inches long. This may be too long for some, but you can always shorten if needed.
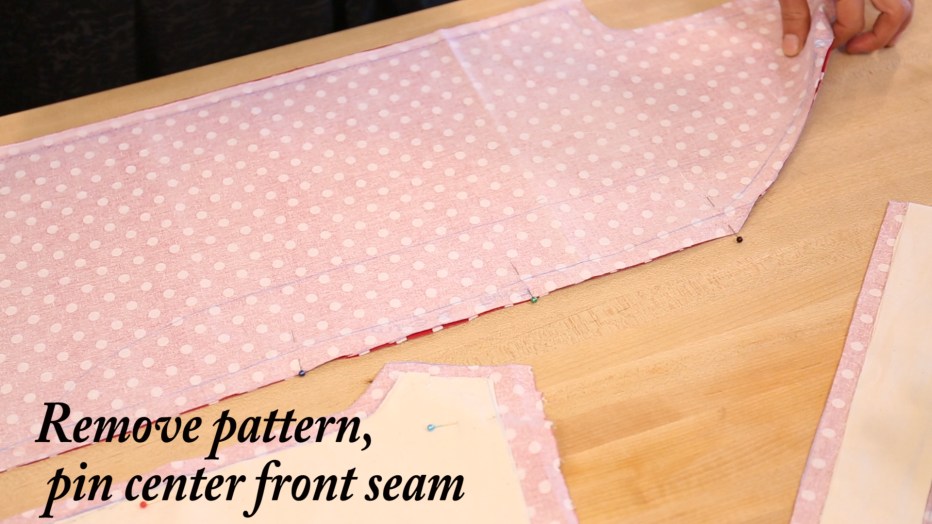
Sew Seams- For front, with right sides together, pin and sew front seam together from neckline to crotch (left photo). For back seam, right sides together pin and sew back seam together from top to crotch using a basting stitch. This is where the zipper will go. We will remove basting stitches after the zipper is installed and re-enforce the seam below zipper.
Lining- Cut out lining exactly the same as the front top of the romper. Pin right side of lining against right side of fabric, and sew along neckline and armholes using 1/4 inch seam allowance. Leave the top neckline open at the top where we will insert the straps later. Now, turn right side out, press, and top stitch around the neck and armholes, leaving the top strap open for strap ties. We’ll do that last. Zipper installation check out our super easy, no pins zipper install. https://youtu.be/ayzSZzGSd8A Facing- This is what the finished facing will look like. With right sides together, pin and sew facing to romper. Fold facing back and press Top stitch to keep facing in place and give a finished look. Putting it all together- With right sides together, line up front, side and back seams. Pin and sew front side seams to back side seams including lining. Sew right and left side seams together. Crotch-Pin & sew front and back of crotch together. Clip curved areas of crotch and press open. Attach neck straps-With right sides together, sew 3 sides, leaving one short side open. Turn right side out and press. Tuck strap into romper strap opening. Pin, press and top stitch. Try on inside out. Pin darts where necessary, mark, pin, sew & press darts. Make any final adjustments. We decided to put the darts in last, but you may choose to put them in early on, such as before installing lining. Hem to desired length. Make 1950s playsuit
Making the Skirt
What’s needed: We used 2 yards fabric, co-ordinating thread, ruler, scissors, measuring tape, pins, fabric marker, measure gauge.
Cut out two pieces of fabric for the skirt ties. Each 24 inches long by 6 inches wide depending on your size of course.
Gathering: Sew two basting stitches 1/2 inch from the top and 1/2 inch apart, leaving a long tail on each end for pulling. Pull threads from each end to gather to the desired waist size.
Back seam: With right sides together, line up right and left side of skirt to create back seam. Sew together using 5/8th inch seam allowance.
Waistband Ties: Front ties- Cut 2 ties out using a 1/8 inch seam allowance. Sew around 3 sides, leaving one short side open. Clip corners or any excess fabric and turn right side out. Turn right sides out and press. The open end will be tucked into the front of the waistband.
Front Hem & Waistband: Front of skirt, turn in 1/2 inch, press and turn another 1/2 inch, press, and sew. Waistband: With right side of waistband facing wrong side of skirt, pin & sew to skirt.
Press open as shown here. Press the excess inward for a finished look.
Place the open end of the tie onto the waistband as shown here.
Close waistband, pinning tie in place.
Top stitch waistband, being sure to catch all the layers (skirt & waistband). Sew across the tie a couple times for extra strength.
Hem to desired length
Make 1950s Playsuit in progress
|