Sewing InstructionsIn Progress - Eye popping photos and video instruction Learn to Sewin 10 StepsThese sewing instructions can help you with your first project, or they can be helpful as a refresher to someone that hasn't sewn for a while. Free FabricLearn how to sew with little money to zero money. Some alternatives to buying fabric are, to shop your closets. Many of these sewing instructions suggest you find fabric you already own whenever possible. Fabric can be expensive when you're learning, so using sheets that no longer fit any of the beds in the house, or old muslin curtains can be a great way to start. I wore my sheet dress to a family Easter celebration. It was comfortable and beautiful. Cloth napkins, table cloths and clothes you no longer wear can all be sources of fabric. I've remade many of the things I own from something else. Of course reusing everything we own over and over again, as much as possible is a great way to help save the planet. The creativity is really a blast. If all else fails, muslin is cheap, and what most professional fashion designers use to make their mock up designs. Sewing Instructions No Pressure Ideally, these sewing instructions will convince you to learn to sew by starting your sewing project without pressure. Try not to have a party you need it for in two days. Allow the time to go slow and steady and keep these sewing instructions near by. Consider it a learning process, that will lead to many beautiful fashion creations. Designing and sewing is a very creative process and can be therapeutic and relaxing, so don't let adding unnecessary pressure ruin your good time. Try to enjoy the process as well as the end result. I especially love sewing on a warm summer night when everyone is sleeping, and it's quiet. One of the reasons I like using old sheets and things is, I already own it and it also takes a lot of pressure off, knowing I have no money invested. It allows me to get creative without fear. It doesn't always work out, but it's a lot of fun! Sewing Instructions No Time If you don't have a lot of time each day, but have always wished you had the time to sew, consider taking baby steps. Review these sewing instructions as you go through the steps. Try something like this: 1. The first day you shop for the pattern, study the fabrics, get advice from the store clerks, and anyone you know that sews. Of course, you're always welcome to come back to thediyeffect.com for help too, or print these sewing instructions to keep nearby. 2. Once your comfortable with the pattern you've studied, and you've decided on the fabric: wash and dry the fabric the next day. 3. Press it and lay it out the day after that. 4. Pin and mark it another day, and so on. By the end of the week you'll have a master piece, or at least a finished garment that you'll have learned from, and advanced your skills on. Regardless of how it turns out, you'll have learned a lot in the process, and be even more ready for the next project. Sewing is a skill that anyone can learn, but like anything, you have to put some time in, which is another great reason to use fabrics from things you own. Just keep these sewing instructions near by and refer to them often, at least on the first sewing project. Sewing Instructions No SpaceSewing space can be challenging, but I've seen sewing take place on the floor, in the corner of a bedroom, kitchen table, attic, basement, even in a closet. I've seen people sew with the sewing machine on their lap. When you think about it, you need space for the sewing machine, and a sewing kit (size of a shoebox). The patterns, fabric, etc can be laid out on the floor just about anywhere that's smooth and clean ideally. I use the pool table to lay out my fabric, but once it's cut down into tops, bottoms, sleeves, etc, the pieces get pretty easy to work with on my desk, which is where my sewing machine is. I also use a cardboard sewing and measuring table when I'm on a sewing project. Sewing Instructions Ready, Get Set, Go! - 10 steps to learn how to sewSewing Instructions Ok, now that we have all that all the way, let's get the supplies together and get started with the actual sewing instructions. What you'll needSewing MachineAlready Own A Sewing Machine - The most important thing when you learn to sew, is to have a machine that works. If you already own a sewing machine, and it works, then learn with that. If you outgrow it for any reason, go to a sewing store that sells machines and learn about the options. Sewing Instructions  The sewing machine pictured here is a Viking Emerald 122/118/116 (Husqvarna), and I purchased it just a few months ago. This machine is about $340 and can handle heavy fabric, like coats, leather, etc. If you're planning to sew heavy things eventually, and are looking for a new sewing machine in this price range, then this is the best thing going in my opinion. So far i've had no problems. Try and get a machine that does not have a lot of plastic parts. I went through two $99 Singers in the last couple of years, because I tried to sew fleece and leather. I decided not to put more money into fixing those machines, but instead upgrade to a machine that would handle everything.
Used Sewing Machines: I've heard of some great deals on used machines. As low as $25 US, depending on the machine of course.
I've seen $20 sewing machines at thrift stores. Ask the clerk to plug it in for you to make sure it works. Check out the internet, and visit a sewing machine store so you can can idea of what's on the market. Decide what's necessary for you, then go forward.
Sewing Supplies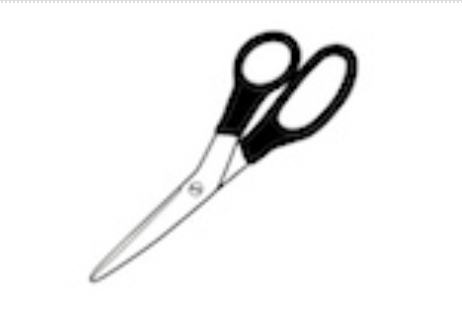 Scissors - Get an all purpose medium size scissor to start. Label them with "Sewing Scissors Only". Hide them from others, and do not use them for anything but fabric. Not even paper. If you do, you'll end up buying pair after pair.
Pins - Make sure your pins are not rusty, dull or bent. They should be fine for fine fabrics. For most projects the cute pearl tip pins are fine. If they're dull you may end up frustrated over and over, when trying to do a simple task like pinning, not to mention the unnecessary holes they create in the fabric.
Seam Ripper - Unfortunately a necessary tool to rip out seems. Marking Tool - I like the disappearing ink marking pen, but there are many options that work.
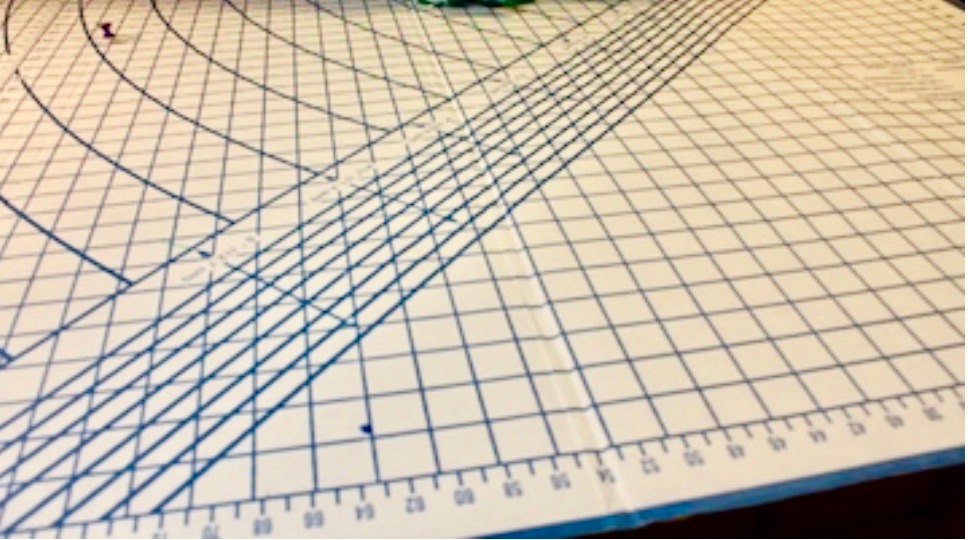 Cardboard Sewing Table - Costs appx. $20. I use this one because it's large enough to handle most projects. I also like that I can hold things down with push pins, and of course the most important thing is keeping the fabric measurements accurate. When laying out the fabric it's important to keep it square, so pinning down the edges of the fabric along straight lines help to get accurate measurements, and therefore a good fit. It's also light and easy to move around, but can be folded to store easily. There are many options on these sewing surfaces. If you're just learning, and are on a budget, this is a good option, but examine and see the other options before deciding what's best for you. Eventually you may want to have several types of surfaces for different projects. Dress Forms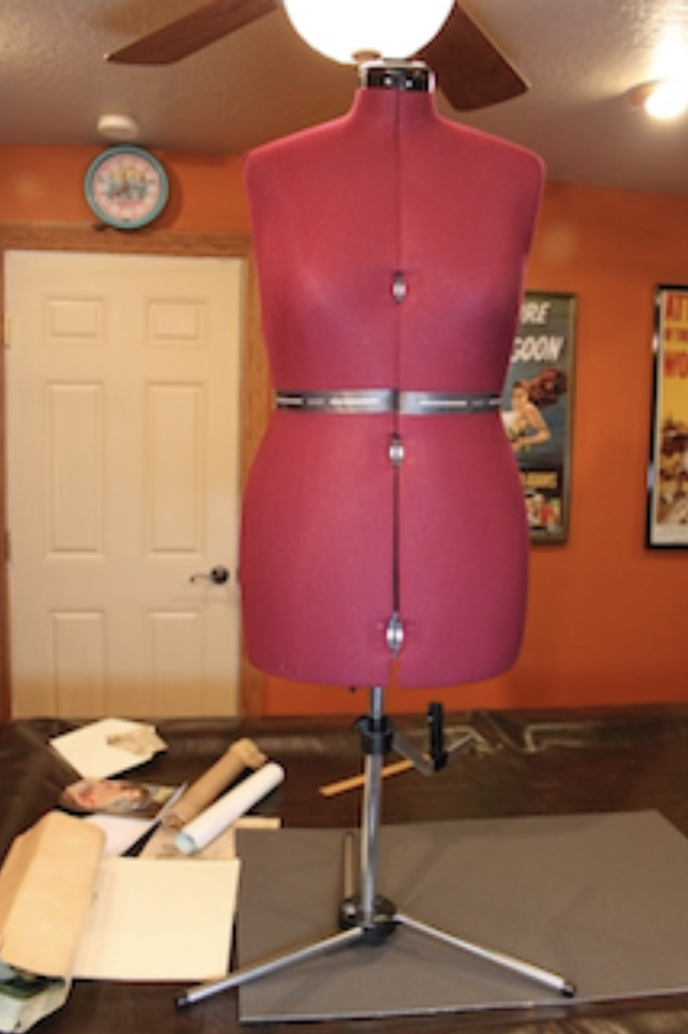 Dress form can be optional, but much more difficult to sew for yourself without one. A new one like the one pictured here costs over $150. The waist adjusts and there's a swivel ruler around the stand for hemming. There are a few options when it comes to dress forms. Of course you can buy one, or you can make one. For all the details take a look at the details on dress forms. 1. Fabric Store - Pick pattern, fabric, & sewing supplies.
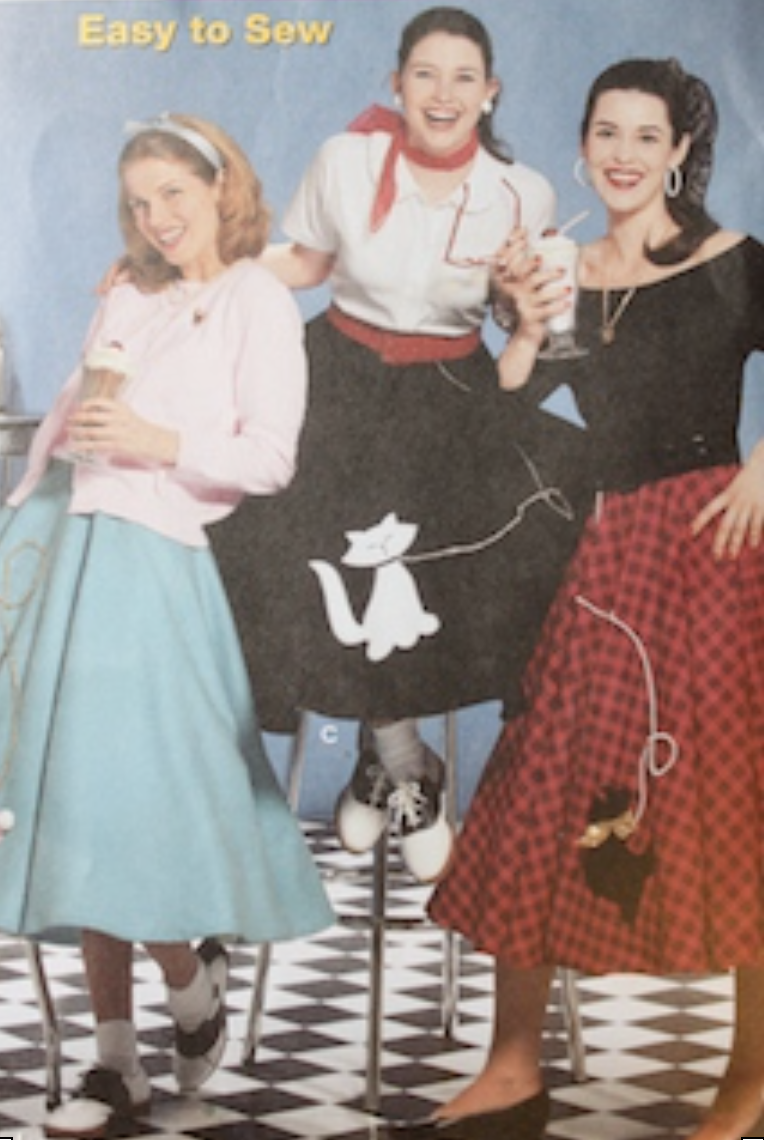
Before leaving home, measure yourself (bust,waist,hips), and take those measurements with you to the fabric store. Check the back of the pattern package for fabric quantity. Also on the back of the pattern, be sure to check the other sewing notions you'll need. Thread, zippers, buttons, elastic, etc. If your sewing your first garment ever, it would be best to avoid buttons and zippers. Elastic or something like a peasant blouse, or poodle skirt would be a couple of possible options. You're nearest fabric store will have plenty of easy beginner patterns to choose from. Subscribe to updates for suggested patterns that are easy to sew.
 When you find fabrics you like, and that are recommended by the pattern, be sure to read the instructions for content and care while at the store. You can find them at the top of the fabric bolt under the fabric. Snap a photo or write it down, but don't forget the cleaning and care instructions. Trying to figure it out later will only add doubt about how to go forward when it's time to wash it (washing is next step). If it needs dry cleaning, you definitely want to know before the fabric is cut. If it's 100% cotton, it's going to shrink, so you definitely want to wash/prepare your fabrics in advance, so you don't end up with a garment that does not fit. Ask for help from the fabric store employees. Although the pattern will give you the technical help, fabric stores can be overwhelming, so get any help you can, so you don't burn yourself out looking for the right fabric or other notions. It's also a lot of fun.
2. Wash and dry the fabric Wash and dry the fabric according to manufacturers recommendations, or however you are planning to care for it. You want any shrinking or problems with the fabric to be discovered before you have created your master piece. If this is a more formal fabric, that has no shrinkage expected, and you really want that new fabric look and smell, then you may not want to do anything to it. In the case of My "Brown Polkadot Dress", I washed it before and after, because it would shrink and it was so full of markings when I was done, it needed it. Several things can go into this decision
about washing, so use your judgment, or send me an
email with questions.
3. Prep & Press Trim and press the pattern pieces to make them more manageable when laying out. Iron fabric using a small clean square of white cotton fabric about the size of the iron to protect the fabric. Especially if it's white or light colored fabric, or right in the front of the garment. Any small stain on the front could ruin it. Use steam with purified water when necessary to get creases out. Hard water can create more stains, so the white cloth under the iron will help prevent that. 4. Lay it OutFollow pattern directions on lay out. Read and review diagrams on the layout of your pattern. Pay attention to arrows, grain lines, and selvage. Patterns usually call for layout according to these terms, and are important in determining the way a garment will hang. The pattern will help with arrows and definitions on the directions, which is one reason you want to completely review the directions before you start any project. 5. Pin the Pattern to the Fabric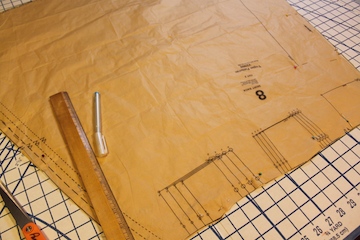 Pin the pattern to the fabric, making sure to keep pattern pieces in place while pinning. Especially with satins, sheers and other slippery fabrics. In these cases you may need to use more pins, but minimize the holes in delicate fabrics by pinning in places that aren't going to be obvious. Try to pin the pattern to the fabric around the edges, in the seam you'll be stitching for instance. If you're working in the very front of the garment, everything may show, so be especially careful with the pins, iron, etc. Pull the pins out as you sew, rather than go over the pins. It's best not to run over the pins, but if you do, you want the pins to be across the seam, so you hopefully don't break the needle. Sewing over pins can also make a weaker stitch, so ideally take then out as you go. 6. Mark the FabricMark notches, darts, etc. I like the washable marking pen, but there are many options. Ask for this pen at the sewing store. It really does wash out with a little water dabbed on with a cloth. It's amazing. Favorite Marking Techniques 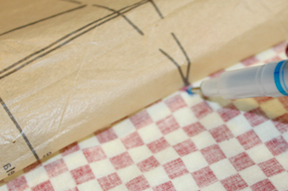 My favorite technique for marking is the one my sewing teacher, Diana Stasko taught me. For this technique you need a washable marking pen ideally, and a pin (ideally with pearl head). First push the pin through the layers of fabric and pattern in the place you want to mark. The photo (upper left) shows the pin poked through the tip of the dart. Second, lift the pattern and mark the fabric, touching the pin on all sides of the fabric (4 marks). Just a dab right at the pin. Third, continue this at each dot of the dart, and any other dots or markings. Then connect the dots on darts, as pictured below. 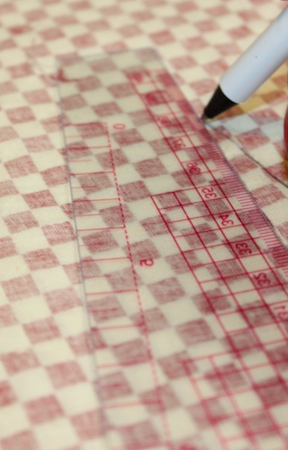 7. Measure Twice, Cut Once7. Double check everything again (measurements, wrinkles in the fabric, markings, pins, etc), then cut. (Measure twice, cut once) 8. CutCut the fabric along the line of the pattern, opening and closing the scissors all the way to avoid choppy cuts. 9. Test, Baste & Try OnOnce all the pieces are pinned, marked & cut, continue to follow the pattern directions and these sewing instructions on how to sew it together. Do a test run on a scrap of the fabric you're using. If your test run is good and the stitches look like they should, then your set to start sewing. If your sample stitches don't look good (bunched, loose,etc), then check the threading, bobbin, and tension, then do another test run until the stitches look tight, clean and normal on both sides. If this is your first time sewing, you may want to baste stitch (hand or machine) fabric pieces together, then try it on before the final stitching. If it needs adjusting, then now would be the time. When you're satisfied, sew the garment with the normal stitch. A basting stitch is a longer stitch that is easy to rip out, in case it's necessary. Check sewing terms for more info on basting stitches, as well as many other sewing terms. 10. Review Other ResourcesAfter looking over these sewing instructions, check out "Sewing Projects". You'll find the process I go through with each one of these projects. The inspiration for the project, the problems, the end result, and many of the technical things I mention above, along with many photos can be found in "Sewing Projects. Review all the sewing instructions before beginning your first project, then keep it handy for reference. Although these sewing instructions will get you through your first sewing project, there's nothing like practice to move you right along. Other sewing instructions coming soon. Subjects like threading the sewing machine, laying out the fabric and pattern, pinning, cutting, buttons, zippers, etc. Don't forget to subscribe here for updates on future sewing instructions, and submit your fashion design and sewing questions here for answers. Let others help you, or if you're an expert, you may want to help others learn to sew with your own sewing instructions. Sewing is back. Fashion design is a blast, and designing and sewing a whole new wardrobe, or even one dress, is fun, rewarding and a useful skill. One thing we have in common is the joy we get when creating something from nothing. There's nothing like it.
Thanks for visiting, and happy sewing!
Easy Sewing Projects |
Sister Sites
