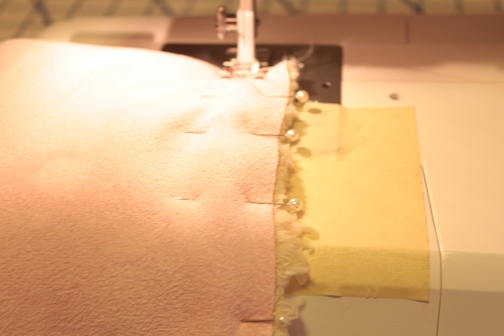
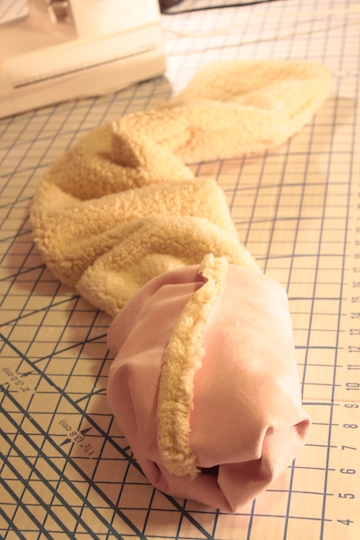
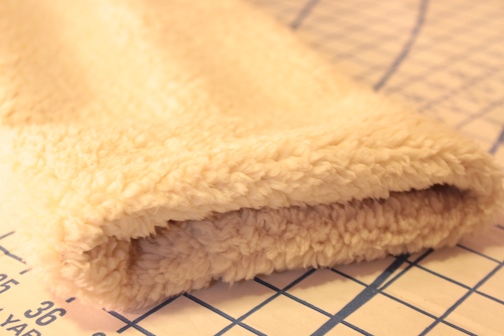
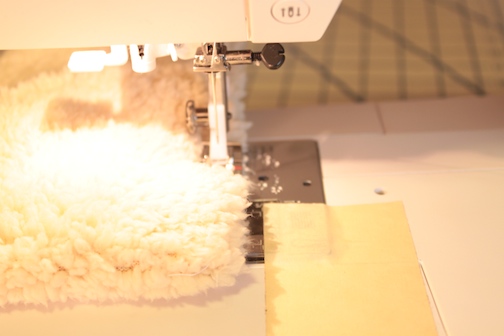
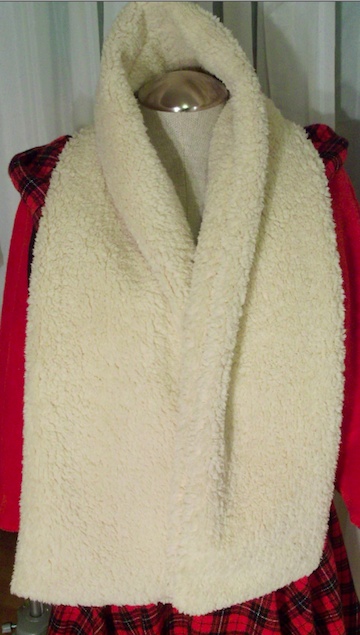
Sheepskin ScarfLay it Out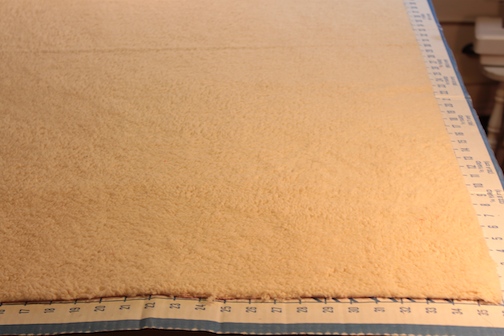 PreparationA sheepskin scarf is thick, so make sure your machine can handle it. Other than the thickness, I found it pretty easy to handle, just be aware of shedding, which can clog your machine. Faux furs, fleece, and other fabric that shed can cause havoc with sewing machines. Washing in advance can help. In this case, the side that sheds will be inside when gliding through the machine, so that will eliminate most of the problem. Just keep a close eye on what's going into your machine.
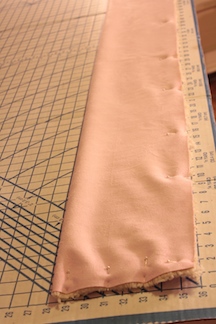
Lay OutWhen laying out the fabric, make sure it's cut straight. A cutting board like the one pictured above costs appx $20. If you don't have one available, use the corner of a table or a t-square to line up the fabric. Line up the selvage edge (machine finished edge of fabric) with the long straight line on the board, and the cut edge along the shorter side of the cutting board. You can also lay it out on a table, using the table edges to line up the fabric. If the selvage edge is lined up on one side, and the cut edge doesn't line up, then straighten out the cut edge by trimming it down to the line like the photo above. Use old scarf as a pattern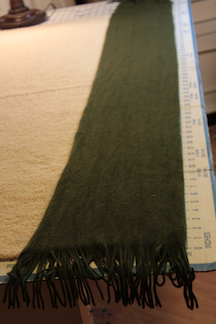 Sheepskin ScarfIf you have a scarf that's the size and length you like, then that would be ideal. Just lay it down on the fabric, making sure to line it up along the selvage (machine finished edge of fabric). If you don't have a scarf, then just measure the length you'd like. The scarf pictured here is a typical length and width, but is not near as thick as the sheepskin being used here. This scarf was about 18 inches wide. Since the sheepskin scarf will be doubled, then folded, that makes it 36 inches wide. The length on this sheepskin scarf is shorter than the scarf template used here. In this case the scarf is for a man, so shorter would be more appropriate, although that's a matter of personal preference.
|
Sister Sites
