How to Make a Cape
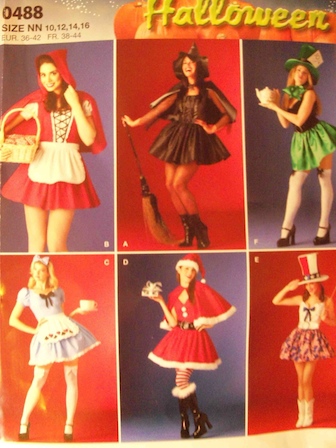
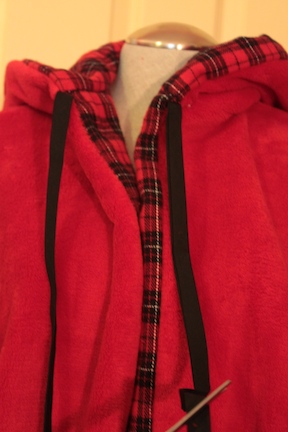
How to Make a Cape "How to Make a Cape" is a full step by step tutorial. We used a Simplicity pattern for this cape and we made it with fleece for a cozy warm cape. We used it for the costume "Little Red Riding Hood", but the fleece fabric makes this cape warm enough to wear on a cool eve.
or wear it as a costume "Little Red Riding Hood"
How to Make a Cape
Materials & options
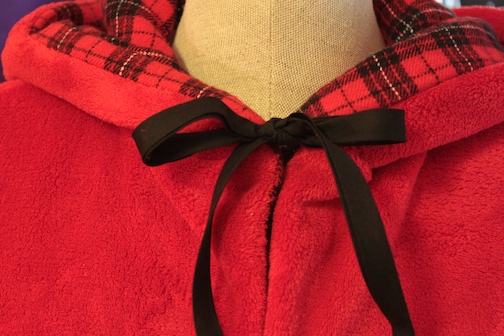
Measurements: In this example the cape used 1 1/2 yards. Measure the length and width desired. Add at least 5/8 seam allowance all around the cape. More for the hem. Much of that will depend on what the cape is going to be used for. If working off a pattern, follow pattern directions. The width in the cape here is about 1 1/2 times the final desired width for fullness. We used fleece for this cape, but capes come in all fabrics. Heavy wool won't gather the same way a silk or cotton fabric would. Play around with it and figure out whats best. Kids costume capes would likely be a light weight material so you could easily go 2 times the width for more gather, where if it's a leather cape, it will likely be little gather. The choices are endless. If winging it and not using a pattern, then check and double check measurements, hold up the fabric to the body that will be wearing it and eyeball too. Consider how loose or tight it should be. Will It be lined? Will it have a collar? Is it washable? Of course wash fabric in advance of sewing, unless dry cleaning is required. TIES OR BUTTONS For the ties I used some black bias tape (close up photo middle of this page). I had tons of it and didn't have ribbon on hand. I tried tying it first, and it worked, so there you have it. Use what you have when possible, and remember you made it, so if you don't like it, you can always change it, or even make it into something else. Just love the flexibility. MAKE YOUR COSTUME WORK ALL YEAR The cape we are making here is a heavy fleece and flannel. A very practical costume as well, since it will be warm and cozy for a cool evening out. If you use something this heavy or fluffy, Make sure your sewing machine can handle it. You can always go with lighter weight fabrics as well. How to Make a Cape
A little about this project- Changing the pattern
FLEXIBILITY Learn how to make a cape and many other costumes using this Simplicity pattern #0488. We are making the "Little Red Riding Hood Cape". One of the best things about sewing is the abilty to change patterns to your liking, and that's what we've done here. REVERSIBLE In this example we are making it reversible, which will require making the cape twice, then sewing right sides together. To simplify it, you can make it unlined, then hem to finish it just like the pattern explains (especially if it's a one time costume). TIES INSTEAD OF A BUTTON The other change to the pattern is the ties instead of a button. We use the ties here, but you can use the button and just follow the pattern directions. GENERAL INFORMATION Either way, follow this example and the pattern, until the first cape is made. If you decide to make it reversible or lined, then continue to follow along this page. The pattern does not go over the details for a reversible or lined cape. This pattern is pretty easy, but as always, read the instructions before starting. Take measurements and figure out how much fabric you'll need. Prepare the fabric according to manufacturers instructions, review sewing terms here at www.thediyeffect.com (formerly thediyeffect.com.net, and don't hesitate to write with questions or suggestions. Happy Sewing! How to Make a Cape
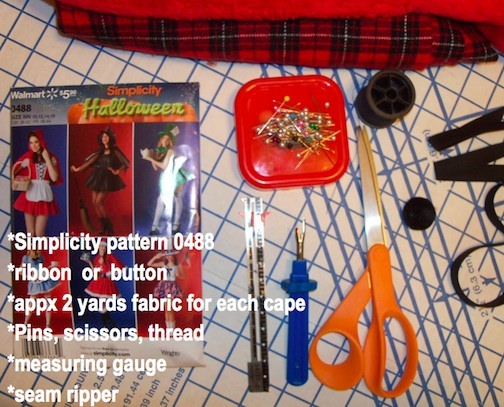
Here's What You'll Need...
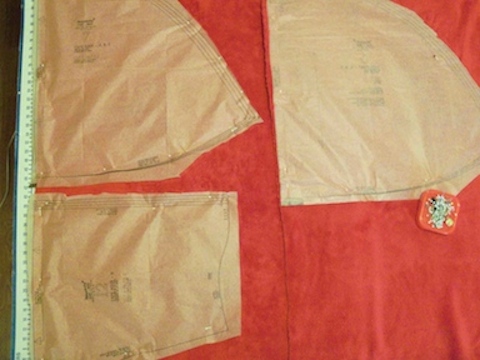
Lay it Out
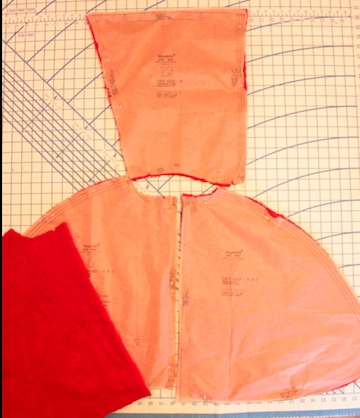
Cut Out 4 Pieces - Using Front Pattern Piece Twice
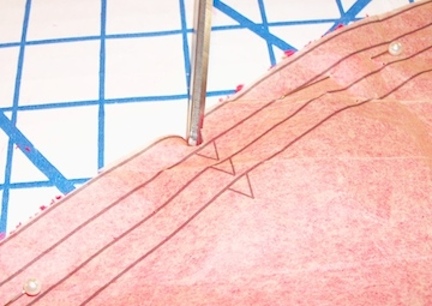
Clip Notches at Side and Shoulder Seams
Stitch Cape Front to Cape Back at Shoulder Seams
Sew Together at Shoulders
Match Notches on Seam of Hood & Sew Together
Stitch center back seam of hood. Gather neck edge between notches
Matching Notches Pin Hood to Neckline of Cape
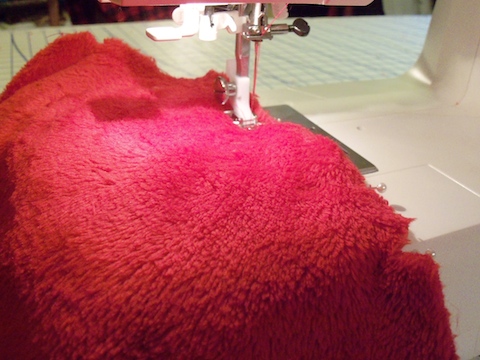
With right sides together, pin hood to neck edge of cape, matching centers back and placing small dot at shoulder seam. Pull up gathering stitches to fit. Baste. How to Make a Cape
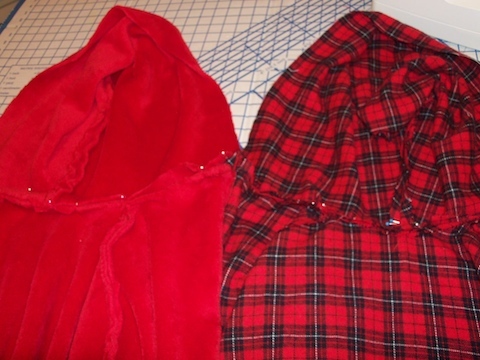
For Reversible or Lined Cape, Make a 2nd Cape
If you decided to go with a non-reversible cape, then follow the rest of the pattern directions as they are. If you are going to make a reversible or lined cape, then continue on with the making of the second cape, the same as the first. How to Make a Cape
For Reversible or Lined Cape Continue
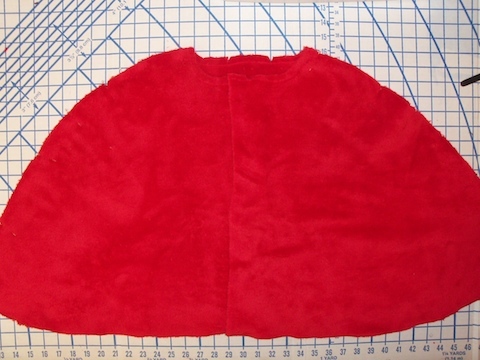
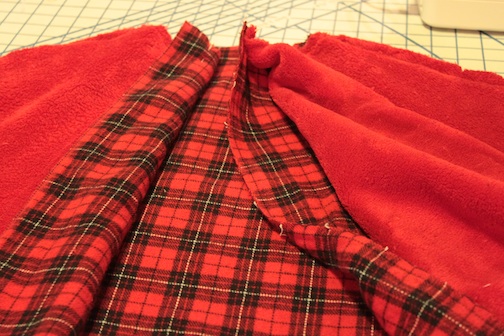
Place one cape inside the Other, with RIGHT SIDES together, matching notches.
Sew together from neck to hem, along shoulder seams, leaving hem open. After sewing the two capes together, turn the right sides out through the hem opening. Try on for fit, see how it looks, and attach ties or button (see pattern for button instructions). How to Make a Cape
Place Ties at Neckline Seam, and Trim to Your Taste
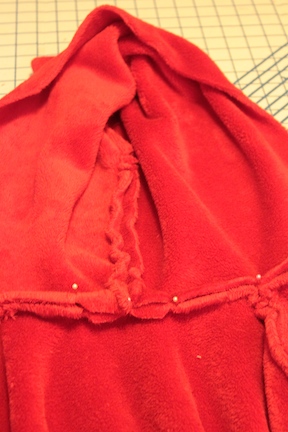
Look for the location at the neckline where all the seams come together. The hood meets the neckline right in front where you tie. Using your seam ripper, open up a few stitches. Just enough to insert your tie (ribbon, rope, whatever you have that works). I used bias tape because I had lots of it, the color was right, and most importantly, when I tied it, the look and hold was good. How to Make a Cape
Turn Inside Out and Sew Ties in Place
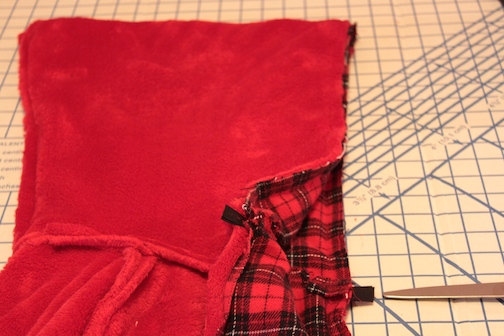
After you have placed the ties just where you want them, pin in place, and turn the cape inside out, as pictured below. The long part of the tie is on the RIGHTSIDE of the cape which is not visible at this point. You are looking at the seam and the place you will resew the stitches you removed.
Should Look Like This
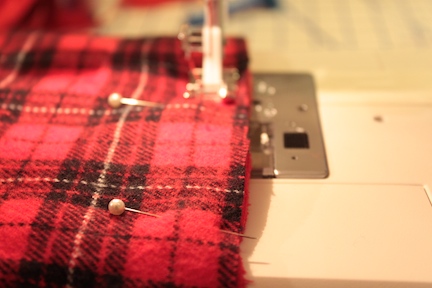
With Right Sides Together, Sew Appx 75% of Hem Together
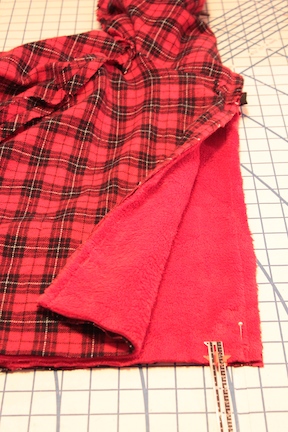
While the cape is inside out, sew 75% of the hem closed, using a 5/8th seam allowance. Leave appx 25% of the hem open. Enough to pull the cape RIGHT SIDE out through the opening. Also, while inside out, attach the two hoods with just a few stitches at neckline. Make sure to fit the hoods inside of each other and line them up at the seams. Just a few stitches will keep the cape together. For a little extra style you can put a few basting stitches in at the neckline for a little gather.
Turn Cape Right SIde Out, Turn hem in & Pin Unsewn Hem
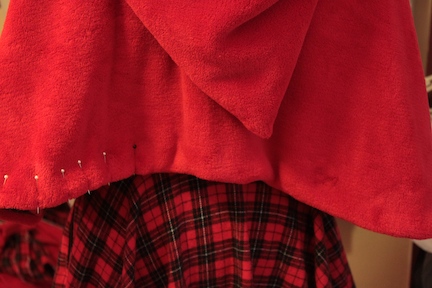
After all the inside stitches are done, you can turn the capes RIGHT SIDE out and finish. First pin the rest of the hem from the outside, turning it in to align with the rest of the hem.
Top Stitch Along the Edge of the Whole Cape
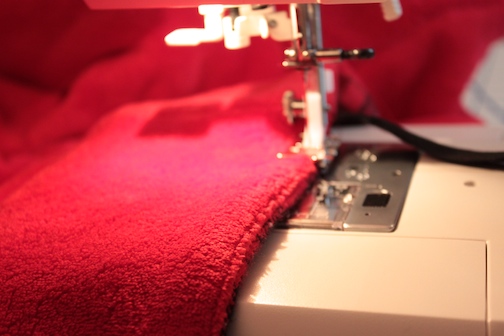
Finish the hem and the whole cape with a top stitch along the edge of the whole cape. I like to start at the top front where the ties are. The front is most visible, so start with that and stitch to the first seam. Then start at the top front at the tie, on the other side (don't end in front, just in case there's extra fabric that has collected). After both sides of the front are stitched, Finish the back between seams, and starting with the part of the hem that has not been sewn. How to make a cape, sewing tutorial coming soon.
Let's Try it On
| 