How to Make a Doll Vest
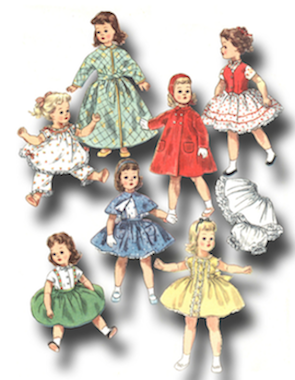 Super easy pattern. In this tutorial on "How to Make a Doll Vest" the pattern for the red doll vest (upper right corner) will be used. Ms Dolly will be wearing a western cowgirl style dress, vest, and accessories. The vest will be designed slightly different with a Steam punk edge. 1. Try pattern on doll
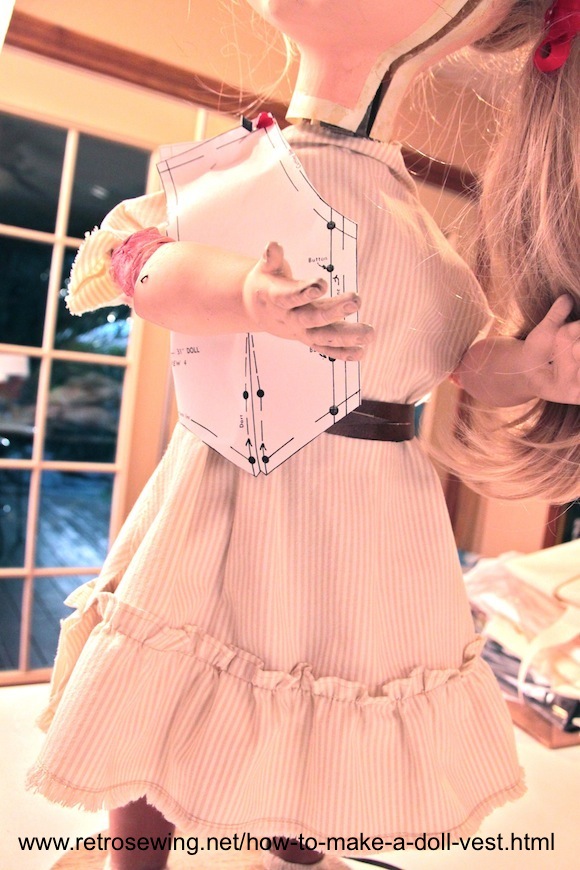 Pin the shoulders of the vest together and try it on the doll. In this case our model is Ms Dolly. She's a 31 inch life size doll being repaired and getting a full makeover. For step by step instructions on the dress in this photo, check out sewing doll clothes. Ms Dolly and her makeover and clothing is in progress, but will have a video and tutorials when she's all done. Subscribe with only your email if you'd like to be notified when these pages and videos are done. 2. Lay it out
In this example the fabric is folded on the left side. Place the pattern on the fold where it says "place on fold". Weights are used here to avoid pin holes in the fabric. The brown Naugahyde material is perfect for an old west look, and even
better yet, it's left over from a very old project which means it
costs nothing. This same fabric was used for How to Make A Dog Bomber Jacket. 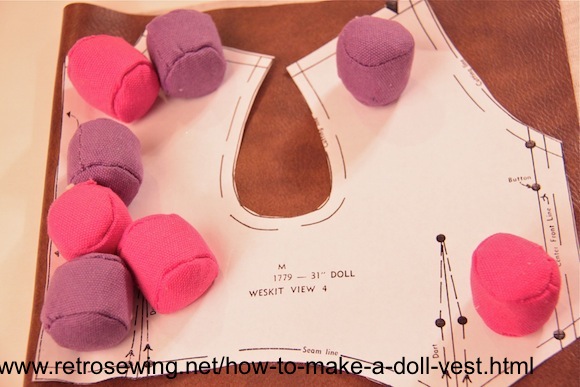 3. Cut it out
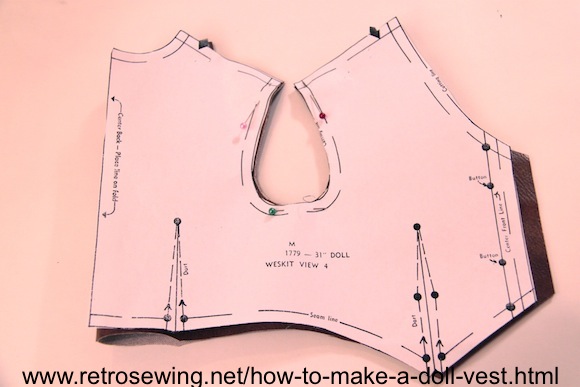 Once the pattern has been laid out, cut it out as shown above. Optional: A little extra fabric was added on the front of this vest as an option for an overlapping closure. It may be cut down later. 4. Darts
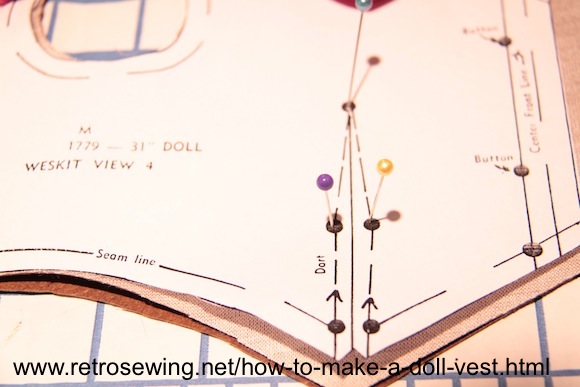 There are many ways to mark darts, notches, etc. Tracing paper and a tracing wheel is a popular way to mark darts. In this example pins and a cardboard table are being used. Poke pin straight down through paper, fabric and into the cardboard. Use any clean smooth flat cardboard available. Once the pins are in, pull up pattern as shown above, and mark wrong side of fabric at base of pin.  Should like this. Once all the dots are marked, connect the dots or not, and sew. 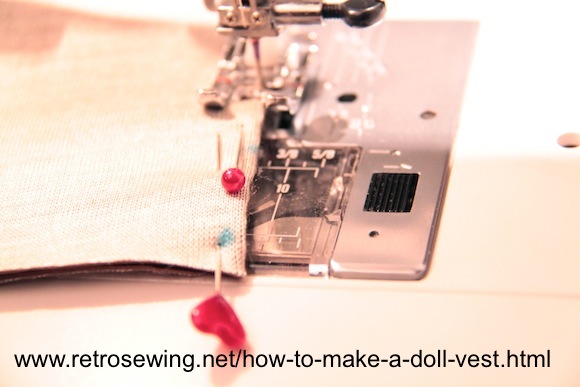 Sew the dart from top to bottom using a back stitch at each end. 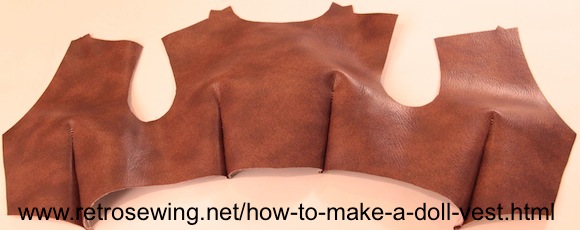 When all darts are done it should look like this. 6. Try on an make final adjustments
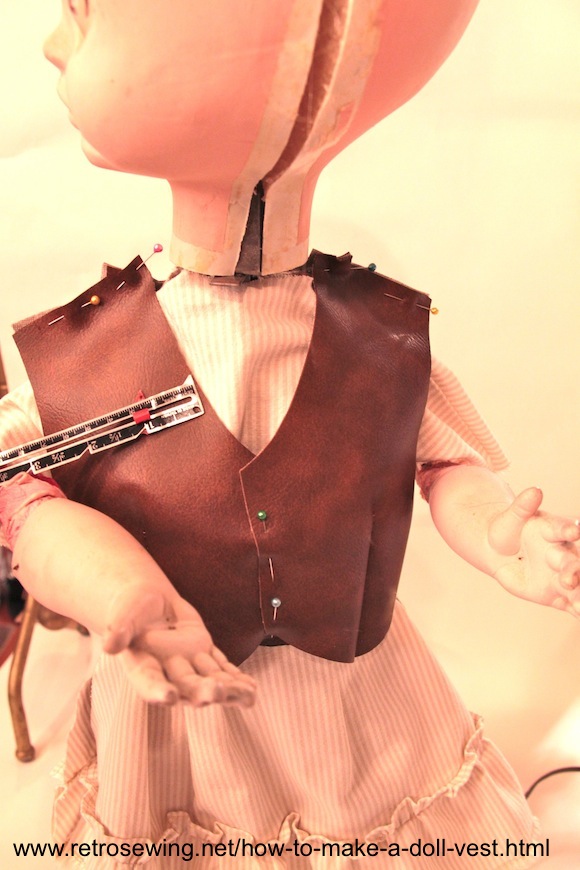 When done with darts, try on and trim or leave as is. In this case it's getting a trim around the arms and neck. Since there's no hemming or lining, only calculated trims are necessary to make changes. Always pin in place with proper size seam allowance when doing this. and here is the vest all done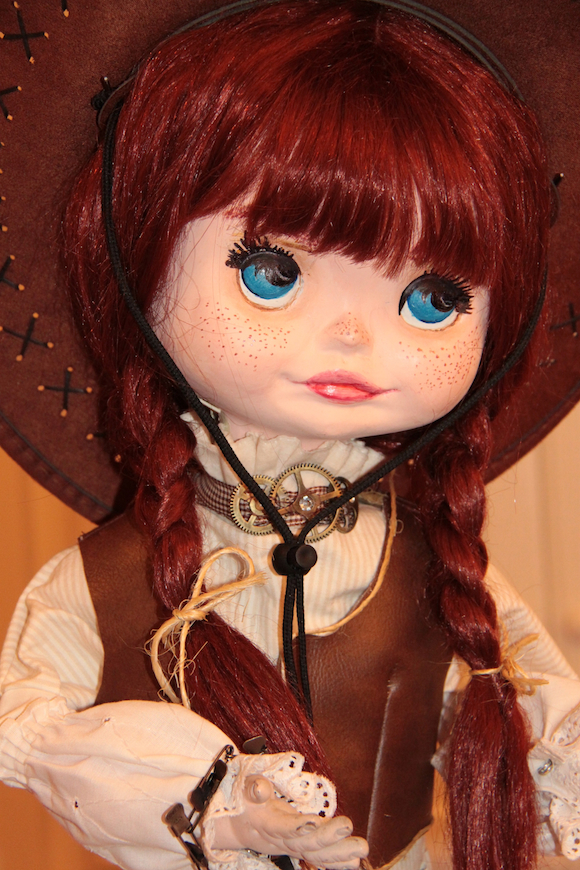 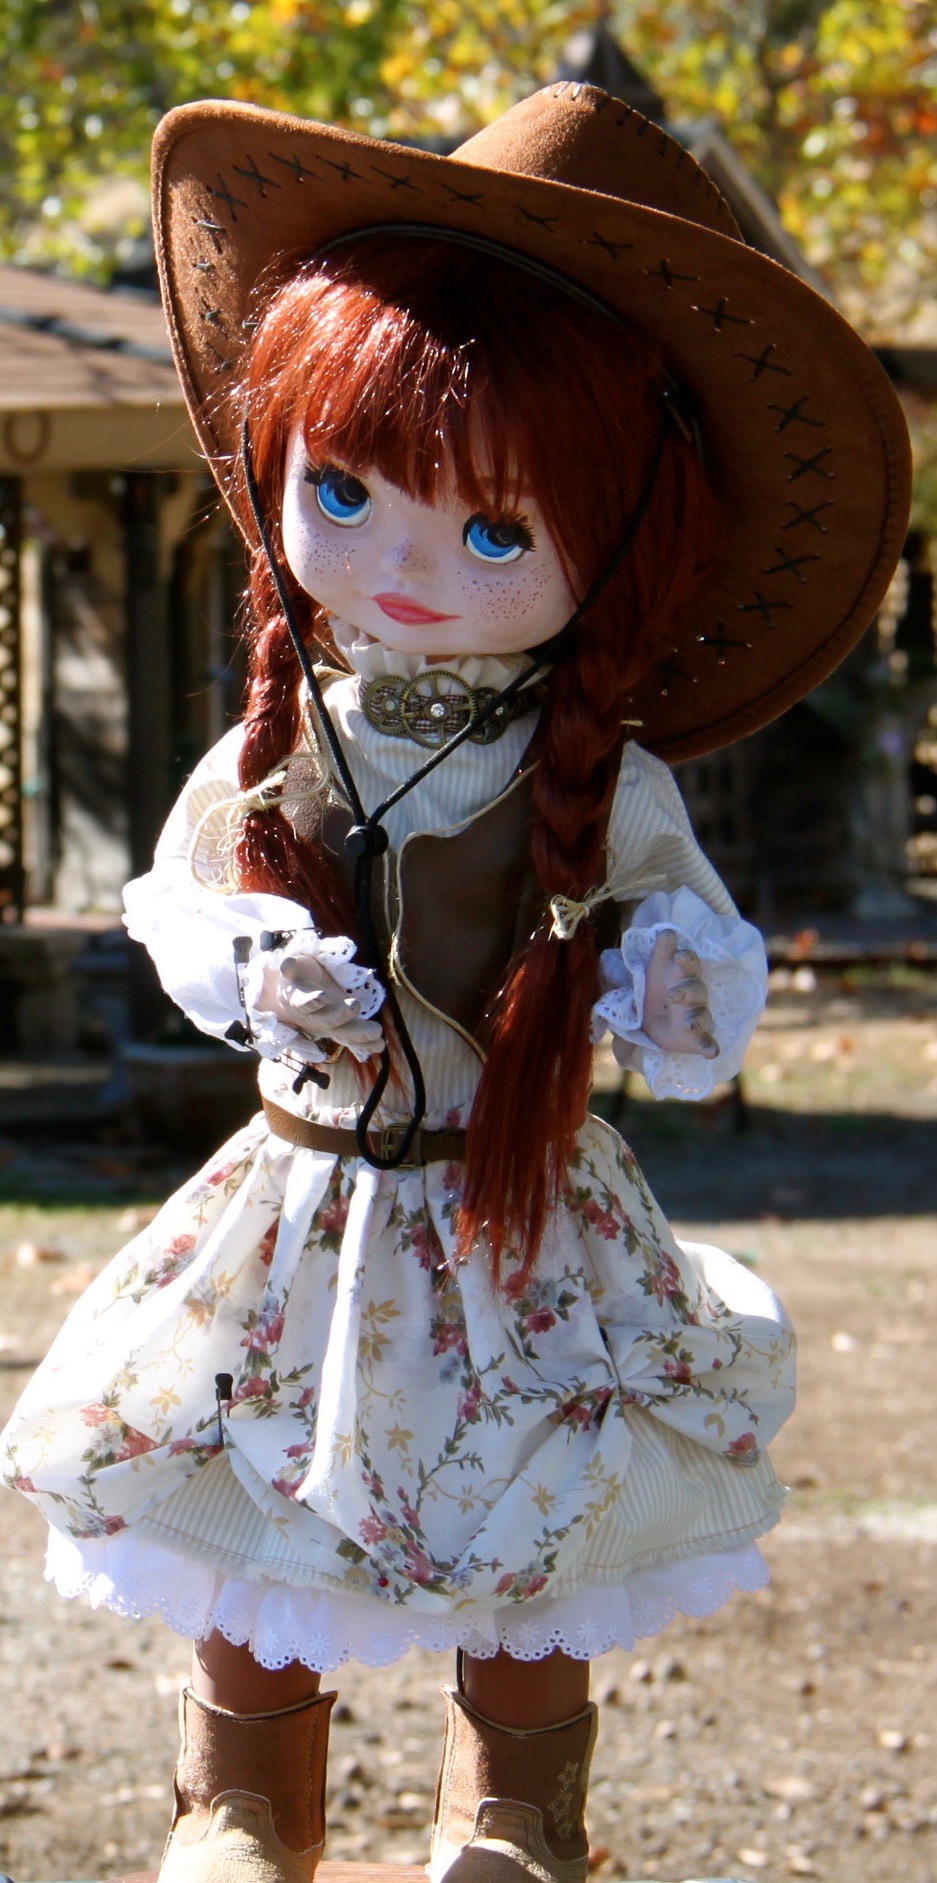 Subscribe with only your email to be notified when new videos and tutorials of this and other projects are released. |
Subscribe with only your email
Sister Sites
